Start with the phone call
Most solar projects begin with a phone call, and that's a good thing. Tell us how you use electricity, roughly what your monthly bill looks like, and whether you own the home outright or have a mortgage. Those three details help us figure out which solar specialist to send and what the first visit needs to cover.
Have a recent utility bill handy. You don't need to dig out every page. The total kilowatt-hours used and the amount you paid are usually enough to start the conversation. If you have a sense of your roof's age or whether it was replaced recently, mention that too. A roof that needs work in the next few years is much easier to handle before the panels go up.
Expect questions about the property itself. Which way the roof faces, whether trees shade it in the afternoon, and what type of roofing covers the house all matter. Ground mounts come up too if you have a yard with open sun and no roof that suits panels.
The site visit and the roof walk
A solar specialist comes out to see the property in person. They walk the roof, take measurements, and note any vents, chimneys, skylights, or plumbing stacks that will affect panel layout. They also look at the electrical panel in the house and the spot where the system would connect to it. This visit is what turns a rough idea into a plan that fits your home.
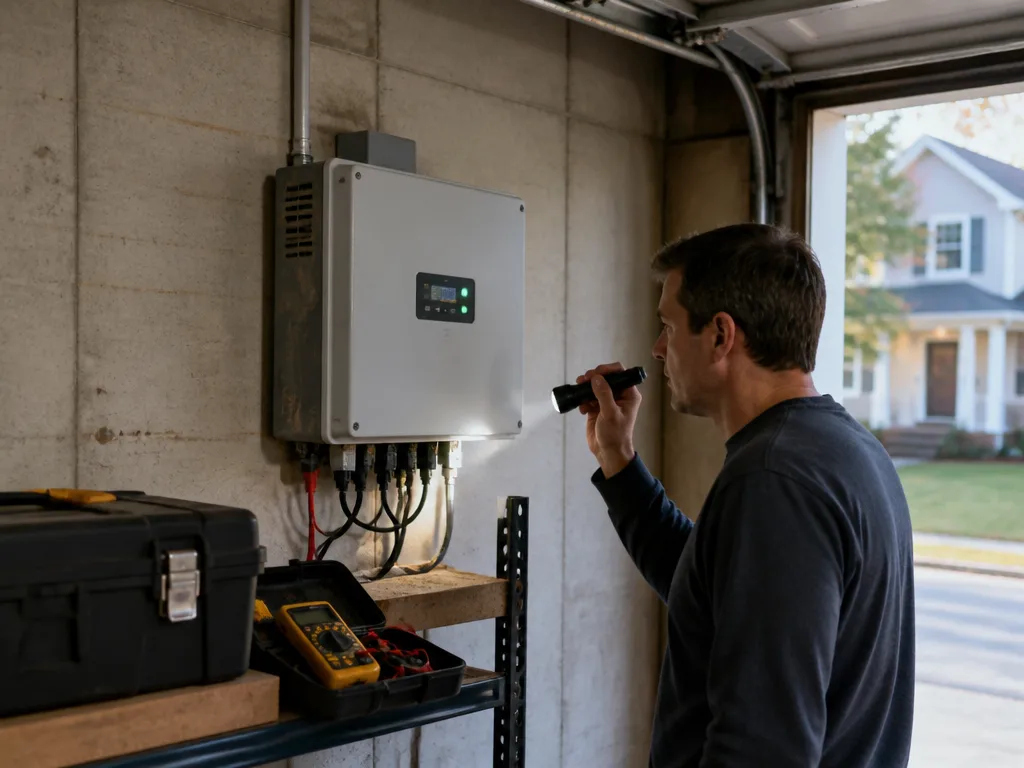
Be home for this part if you can. You'll want to ask about where the inverter will mount, how the wires get routed, and whether the panels will be visible from the street. Those are reasonable things to care about, and a good crew will answer them plainly.
- Roof age and condition, including any soft spots or loose flashing
- Shading from trees, neighboring buildings, or chimneys during the day
- The main electrical panel's capacity and whether it needs an upgrade
Design, permits, and paperwork
After the visit, our team builds a layout that shows panel placement, the wiring path, and the expected output for your roof. Local permitting is handled as part of the job, since every municipality and utility has its own requirements. Some areas need structural review, and some utilities need their own approval before a system can be switched on. Those steps take time, and the timeline depends heavily on where you live.
Ask for a clear list of what's being submitted and who is handling each piece. You should know when the utility interconnection application goes in and what it needs before the system can operate. If anything in the paperwork looks unfamiliar, ask about it. It's your roof and your electric service, so you should understand what's being filed in your name.
This is also the stage where financing paperwork gets signed, if you're using a loan or lease. Read the terms carefully and ask how the monthly payment or lease charge is calculated. Nobody should rush you through that part.
Installation day
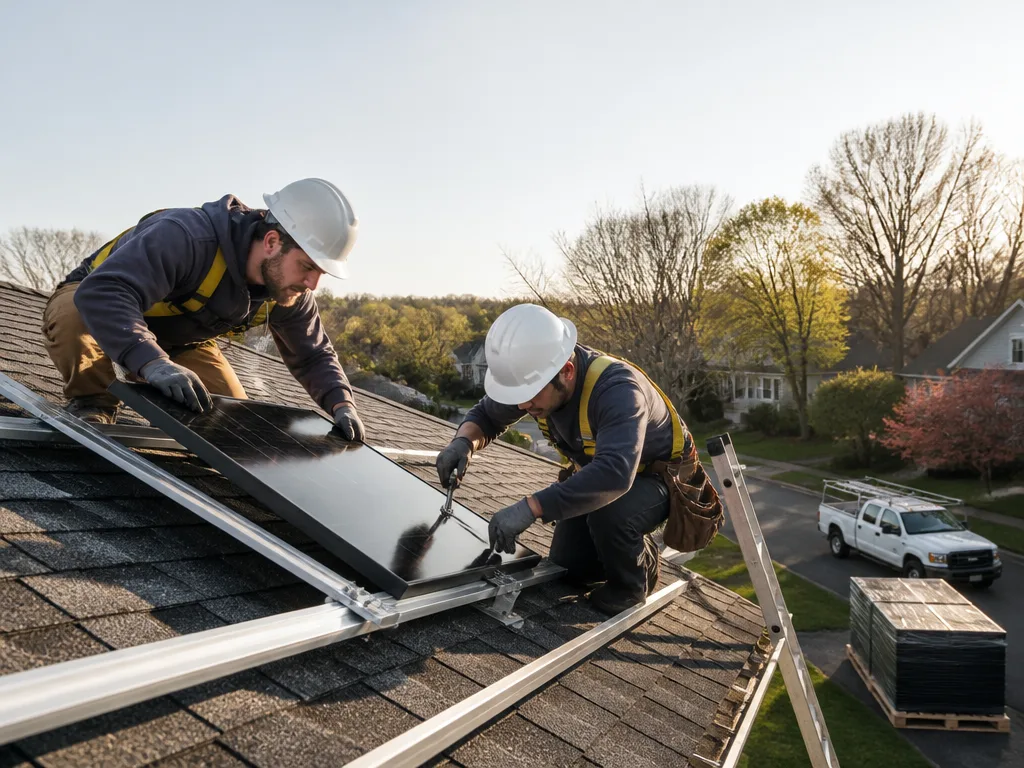
Most residential installs wrap up in a few days, though a single-story roof with a simple layout can finish faster. The crew arrives in the morning, sets up a work zone, and starts by mounting rails to the roof structure. Racking goes on first, then panels, then the wiring that runs down to the inverter. Expect some noise from drills and the occasional ladder traffic across your yard.
Keep pets and kids clear of the work area and move vehicles out of the driveway if the crew asks. Power to the home may be shut off briefly during the final electrical connection. Your crew will tell you in advance when that happens and how long it should last.
What you'll see when the crew leaves
By the end of the day, the panels should be fastened, the wiring neatly routed, and the work area cleaned up. Walk around the property and look at the roof from the ground. Check for debris in the gutters and any scrapes on siding or trim. Mention anything that looks off before the crew packs up, since that conversation is easier while they're still on site.
Inspection, activation, and the follow-up
Once the install is complete, a local inspector typically checks the work against code. After that passes, the utility reviews the interconnection and gives approval to turn the system on. Activation can take a few weeks after installation, and that's normal. Your solar specialist should tell you what the utility is waiting on and roughly when to expect the next step.
The follow-up call matters more than most people expect. In the first few weeks, check that your monitoring app shows production and that the numbers look reasonable for the season. Cloudy stretches and winter days will always produce less, so compare the same months year over year instead of day to day.
If something doesn't look right, call us. Describe what you're seeing, when it started, and whether the inverter shows an error code. Good follow-up means someone answers the phone and works through the problem with you, not a runaround.
Questions to ask before you sign
Before you commit, ask who will physically be on your roof, how long the install is expected to take, and what happens if the inspector flags something. Ask how monitoring is set up and who to call if the system stops producing. Ask what the crew does with old packaging and scrap materials. These questions help you compare options and make the decision with a clear head.
Solar Installation serves homeowners across the country, and our local crews wherever you are work through these same steps. Call us when you're ready to talk through your roof, your bill, and what the first visit should look like.